


Here are a few sample B&W edits of the same picture using Photoshop's in-built menu options and the same picture edited using a detailed non-photoshop-in-built process.
1. Edited using Photoshop's Hue Saturation Adjustment in the layer's palette. All I did was bring the saturation all the way down and adjusting the lightness

Pay close attention to the edges of the bokeh in the background. You can see rings in the bokeh. Not very pleasing to the eye. How long did it take? It was pretty quick. One click to add the adjustment and then a couple of seconds to bring the Saturation slider down and adjust the lightness.
2. Lets look at the next picture edited using Photoshop's "black and white" option, again an adjustment in the layer's palette.

Again, look at the bokeh. Not very appealing. The image also looks kind of flat and oomphless. It took me a second to click the option and about 5 seconds for photoshop to do its thing
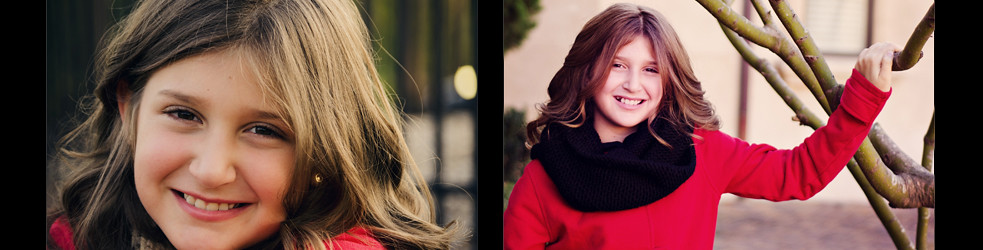
3. Edited manually using custom techniques.

The above picture was carefully edited following various steps, burning a little here, dodging a little there, adding various overlays to get this final product. In this picture, you can actually see several different shades from the blackest of black to the whitest of white. It took me about 15 minutes to complete this edit. A lot of time in my books but it was time well spent.


0 comments:
Post a Comment